Radiosity
One of the major issues when rendering photo-realistic images is the ambient lighting. Air in the atmosphere diffuses all lights from all light sources and the diffused light illuminates all objects and bounces among them. These inter-reflection lights are the reason why a white chair appears to have a red tint when placed into a completely red room. Without the ambient light and the inter-reflection objects would be bright on the side visible to light source and completely dark on the parts where there is no direct light illumination. Image bellow contains only one light source without any ambient lighting.
One light source without ambient lighting:
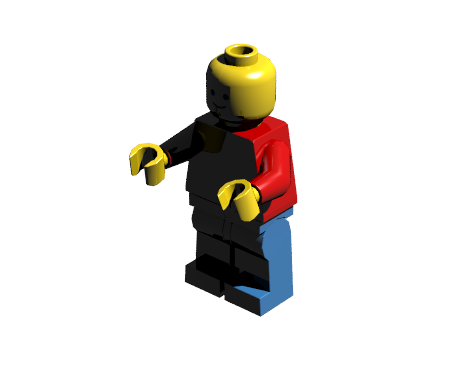
Without taking into account the ambient light and diffuse inter-reflection produces picture which look very unrealistic - more like pictures from the Moon - there is no ambient light.
Ray-tracing is based on tracing light rays from each pixel of output image to a part of an object projected to that pixel and from that object part to next object part or a light source. To get realistic results in ray-tracer is extremely complicated.
Modeling ambient lights and diffuse inter-reflection lights to catch the light rays bouncing among object by tracing many of them would increase rendering time dramatically and is not technically possible.
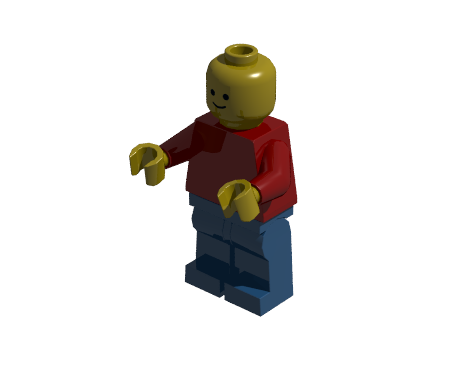
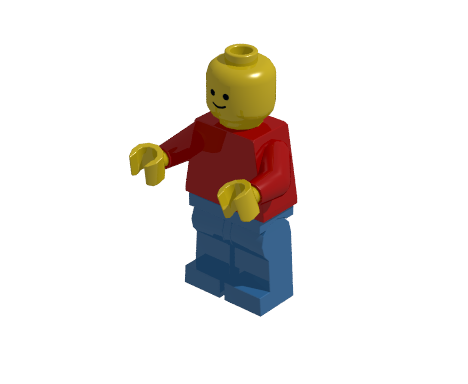
Traditional approach uses a little amount of ambient light added to each surface. This means, that each surface "glows" on it's own, so it is not completely dark. Bellow are images with added different amount of an ambient light.
One light source with added 10% ambient light
One light source with added 30% ambient light
One light source with added 60% ambient light
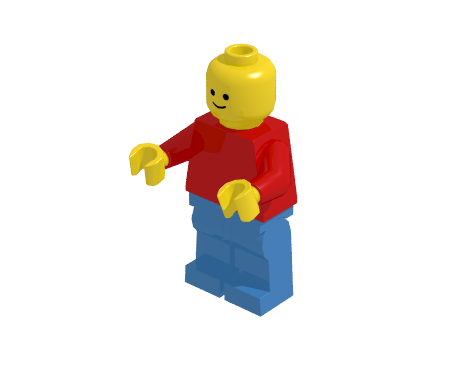
As you can see, this approach can make dark areas brighter, but the results are not very realistic. Adding some amount of ambient light does not make them only brighter, but also causes some loss of details.
To include the ambient and diffuse inter-reflection rays into image POV-Ray™ uses special technique called radiosity. Radiosity enables objects to receive light and color information from objects near by without loosing details. This is done for each pixel by tracing some additional rays shot in different directions. This process is controlled by many parameters and depending on these parameters also the output image and rendering time is different. Radiosity si experimental POV-Ray™ feature therefore POV-Ray™ issues a warning when it is in use.
LDD to POV-Ray™ Converter has a radiosity tab which controls usage of a radiosity in a model scene.

To enable the radiosity in a converted model scene:
- check the "enabled" check box
- select the desired radiosity parameters from the combo box next to the "enabled" check box
LDD to POV-Ray™ Converter supports several predefined radiosity settings. They differ in quality of an output image and rendering time. Supported predefined settings are:
- Default - fast, produces inaccurate output
- Debug - very fast, artifacts may appear in output image
- Fast - fast, artifacts may appear in output image
- Normal
- 2Bounce- slow at begining, quite good results
- Final - slow, very good results
- OutdoorLQ - artifacts may appear
- OutdoorHQ - for scenes without any light source, very slow, good results
- OutdoorLight - for scenes with one light source (sun)
- IndoorLQ - artifacts may appear
- IndoorHQ - very slow, good results
- Custom - good compromise between speed and quality
Click on the image bellow, to see errors and differences produced different predefined settings.
One light source and enabled radiosity (ambient light set to 0%)
Default radiosity
The radiosity produces images with better ambient lighting without loosing details. It enables lowering the added ambient light to 0 and eliminates the "glow" effect that causes loss of details.
Use sky sphere- enables POV-Ray™ to use single color or image sky sphere to add more natural lighting to the final image. Sky sphere in POV-Ray™ is actually hollow sphere with very large diameter. Whole scene including all lights and the camera are placed inside this sphere and desired color or selected image is projected on the sphere. Radiosity transfers the illumination generated by the sky sphere to the objects on the scene.
To enable single color sky sphere:
- check "use sky sphere" check box
- select "single color" radio button
- click on the color rectangle to select sky sphere color
To enable image sky sphere:
- check "use sky sphere" check box
- select "image" radio button
- click on the browse button to select desired image
For more information about the sky sphere with an image see HDR lighting.