Getting started
When running the application for the first time, follow the instructions in the initial settings section.
After successfull setup of initial settings you should see the main screen with the Callback File System, virtual file system SDK for Windows driver status displayed in status bar. It should be installed and service should be running.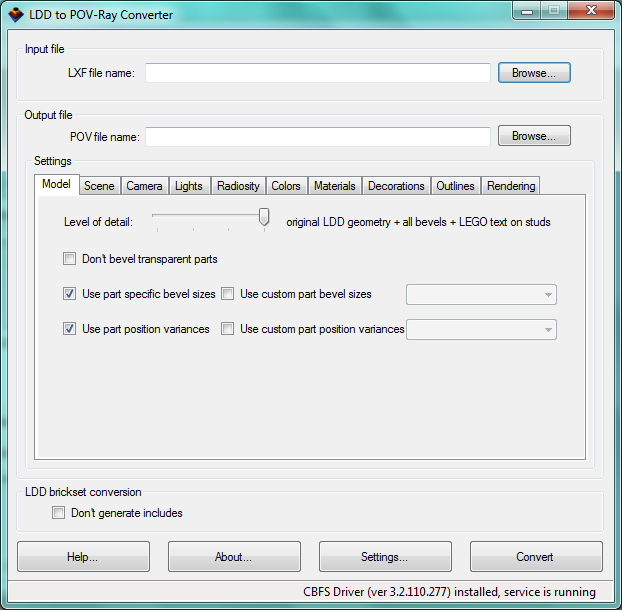
In the LXF file name type path and file name of the LDD model you would like to convert. Name of the output file is filled aically and can be changed. Click Convert button to convert the model. Camera position and view is taken from the model file so the camera view will be the same as was the last view in the LDD when model was saved. To get image really corresponding to what was seen in the LDD the output image aspect ratio (width/height) must be the same as your screen resolution.
Before rendering converted model scene in POV-Ray™ follow the steps in POV-Ray™ setup. After these are completed, you should be able to render the model scene. If you experience problems check the FAQ section.